Master How to Create Product Reference Images — From Prompt to Final Visual with Brainode
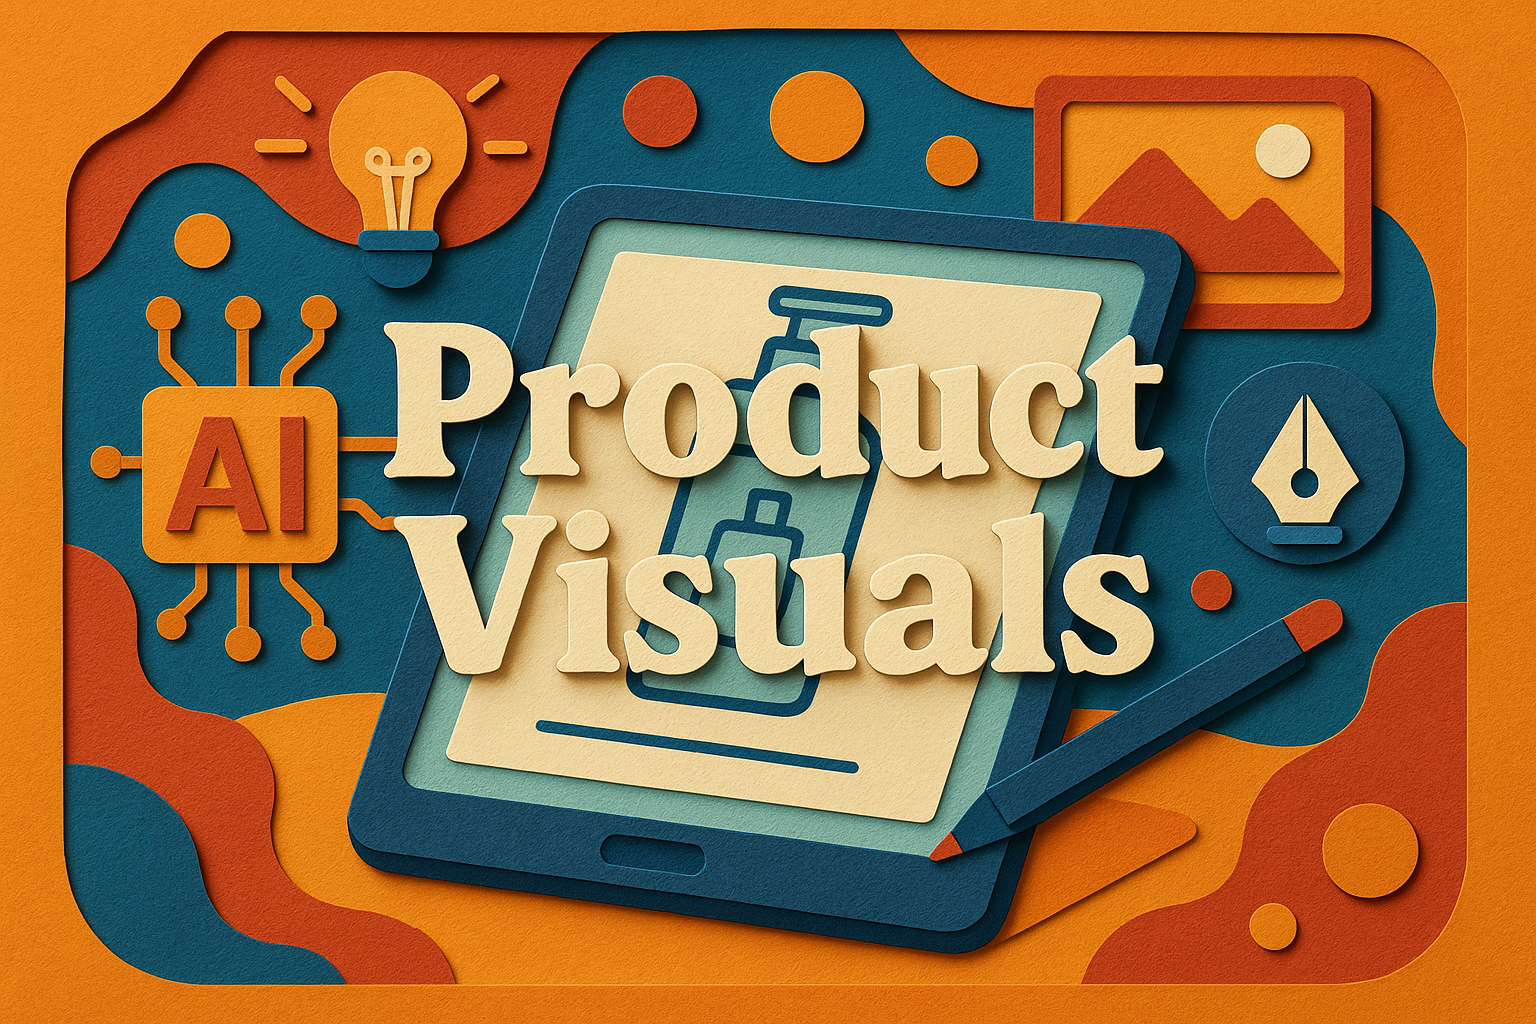
Master How to Create Product Reference Images — From Prompt to Final Visual with Brainode
In today’s competitive market, having high-quality product images is essential for effective branding, marketing, and prototyping. But capturing perfect visuals traditionally requires expensive camera setups, studio lighting, and time-consuming shoots. Fortunately, with tools like Brainode, you can go from a simple idea or sketch to polished, professional reference images entirely digitally—streamlining your creative process and reducing costs.
Unlock the Power of AI-Generated Product References
This comprehensive guide walks you through how to create product reference images — from prompt to final visual with Brainode. Whether you’re a designer, founder, or content creator, mastering this workflow enables you to generate stunning visuals for branding, mockups, or concept development, all without leaving your desk.
Step 1: Upload Your Real Product Image to a Node Block
The journey begins with uploading an actual reference image of your product. For this example, we’ll use a perfume bottle, but the process applies equally to any product—clothing, electronics, packaging, and more.
Create a New Node Block
Navigate to your Brainode workspace and click the “+” icon to add a new Node Block. Think of Node Blocks as creative containers within your mind map, where all your visual ideas and references are organized.
Click “Create Image”
Inside your new node, select the “Create Image” button. This action opens options for image generation and upload.
Upload the Real Product Image
Click the “+” icon again and select “Upload to Editor”.
Choose your product image from your device. For example, upload your high-quality photo of the perfume bottle.
Quick Tips on Upload Types
Temporary Image Upload: Useful for quick reference during a single generation session.
Add Image to Editor: Saves the image permanently inside your Brainode workspace, making it accessible across multiple nodes.
Once uploaded to the editor, this image can be referenced in any subsequent nodes, keeping your workflow organized and flexible.
Step 2: Write and Save a Creative Prompt Using the Content Editor
Now that your reference image is in place, it’s time to craft a detailed, creative prompt that guides your AI-generated visuals. This step ensures your outputs align with your branding or campaign goals.
Create a New Content Node
Click the “+” icon to add a new node and select the “Content Editor” command. This is where you’ll write your descriptive prompts, scripts, or notes—not for image generation directly.
Write a Clear, Descriptive Prompt
For example, if designing a luxury perfume ad, you might write: The scene unfolds in a sunlit, elegantly designed room, adorned with soft fabrics and floral arrangements. At the center, a gold-accented perfume bottle rests on marble. The camera zooms in, capturing intricate details and reflecting light, evoking elegance and sophistication.
Save and Reuse the Prompt
This prompt is stored within your workspace for easy access. When ready for image generation, simply copy it into the Create Image input and customize your settings such as style, aspect ratio, and camera angle.
Generate Your First Visual
In this demo, settings include:
Style: Photorealistic
Aspect Ratio: 16:9
Other: Left on auto for fine-tuning
Once you click Generate, the AI creates your visual, bringing your prompt to life with stunning detail and style.
Step 3: Generate a Character (Actress) to Feature in the Scene
Adding a human element can elevate your product imagery. Create a new node and write a prompt describing the appearance, pose, and mood of an actress or model for the scene.
Optimize for Close-Up Quality
Style: Photorealistic
Framing: Close-Up
Format: Square (1:1)
This ensures sharp facial features, makeup details, and authentic expressions—ideal for reference in your final composition.
Step 4: Combine the Product and Actress into a Cohesive Scene
The final step is merging your references into a single, compelling visual.
Create a New Scene Node
Add a new node to your workspace and drag references from the perfume and actress nodes into this scene node. Brainode recognizes these references and attaches them automatically.
Write a Scene Prompt
Describe the final scene—e.g., “A stylish woman holds a luxury perfume, standing against a softly lit, minimal backdrop, emphasizing elegance and product focus.”
Generate the Final Image
Paste your scene prompt into the Create Image input, select your preferred settings (e.g., Photorealistic, Medium Shot, 16:9), and click Generate. The result is a cohesive, polished product scene ready for use in mockups, campaigns, or presentations.
Take Your Product Visuals Further
While Brainode doesn’t support video generation yet, you can export your final images to animate or incorporate into videos with your preferred editing tools. Stay tuned for upcoming features that will enable direct video creation from your mind map!
Additional Use Cases
Character design for games or comics
Storyboarding for animation or video
Fashion and product concept development
Packaging mockups and moodboards
UI/UX prototypes and visual storytelling
Conclusion: Streamlining Creativity with Brainode
This guide demonstrated how to create product reference images — from prompt to final visual with Brainode. By connecting references, crafting detailed prompts, and leveraging AI-powered image generation, you can accelerate your creative workflow and produce stunning visuals effortlessly.
Remember, whether you’re designing a new perfume label, developing a product prototype, or building a visual storytelling deck, Brainode’s structured and logical approach helps you stay organized and in control of your creative process.
Ready to Start Creating?
Unlock the full potential of Brainode with a premium subscription. Use code PREMIUM-PROMO for 100% off your first month and explore endless possibilities for your visual projects. Visit Brainode.ai today and elevate your creative workflow!
Stay tuned for our next tutorial, where we’ll dive into advanced scene building, storytelling automation, and creative workflows designed to make your projects faster and better.
“Brainode’s structured approach transforms how creators generate and manage visuals, making complex projects simpler and faster.”
And remember—your next great product visual is just a few prompts away.
Transform Your Ideas into
Beautiful Mind Maps
Unleash your creativity with our AI-powered mind mapping tool. Create stunning visual maps, organize your thoughts, and collaborate seamlessly with your team.